How to install SAP Logon Transfer on Windows
Updated February 2026
SAP Logon Transfer is a portable Windows app — there is nothing to install and no .NET runtime to set up. You download one file, run it, and you're working. This guide walks through it from download to first use.
What you'll need
- Windows 10 (64-bit) or Windows 11
- A couple of minutes — there's no setup wizard
- No admin rights, no .NET, no extra downloads
Step by step
1. Download the app
Head to the download page and save the file. It's a single, self-contained download — nothing else to fetch.
2. Run it
Double-click the app. There's no installer — the window opens directly. If the
download came as a .zip, extract it first, then run the .exe inside.
3. Clear the SmartScreen notice (first launch only)
Because the app is new and unsigned, Windows may show a SmartScreen notice. Choose More info → Run anyway. The app only reads and writes your own SAP connection settings — it never touches the network, the registry, or any password store.
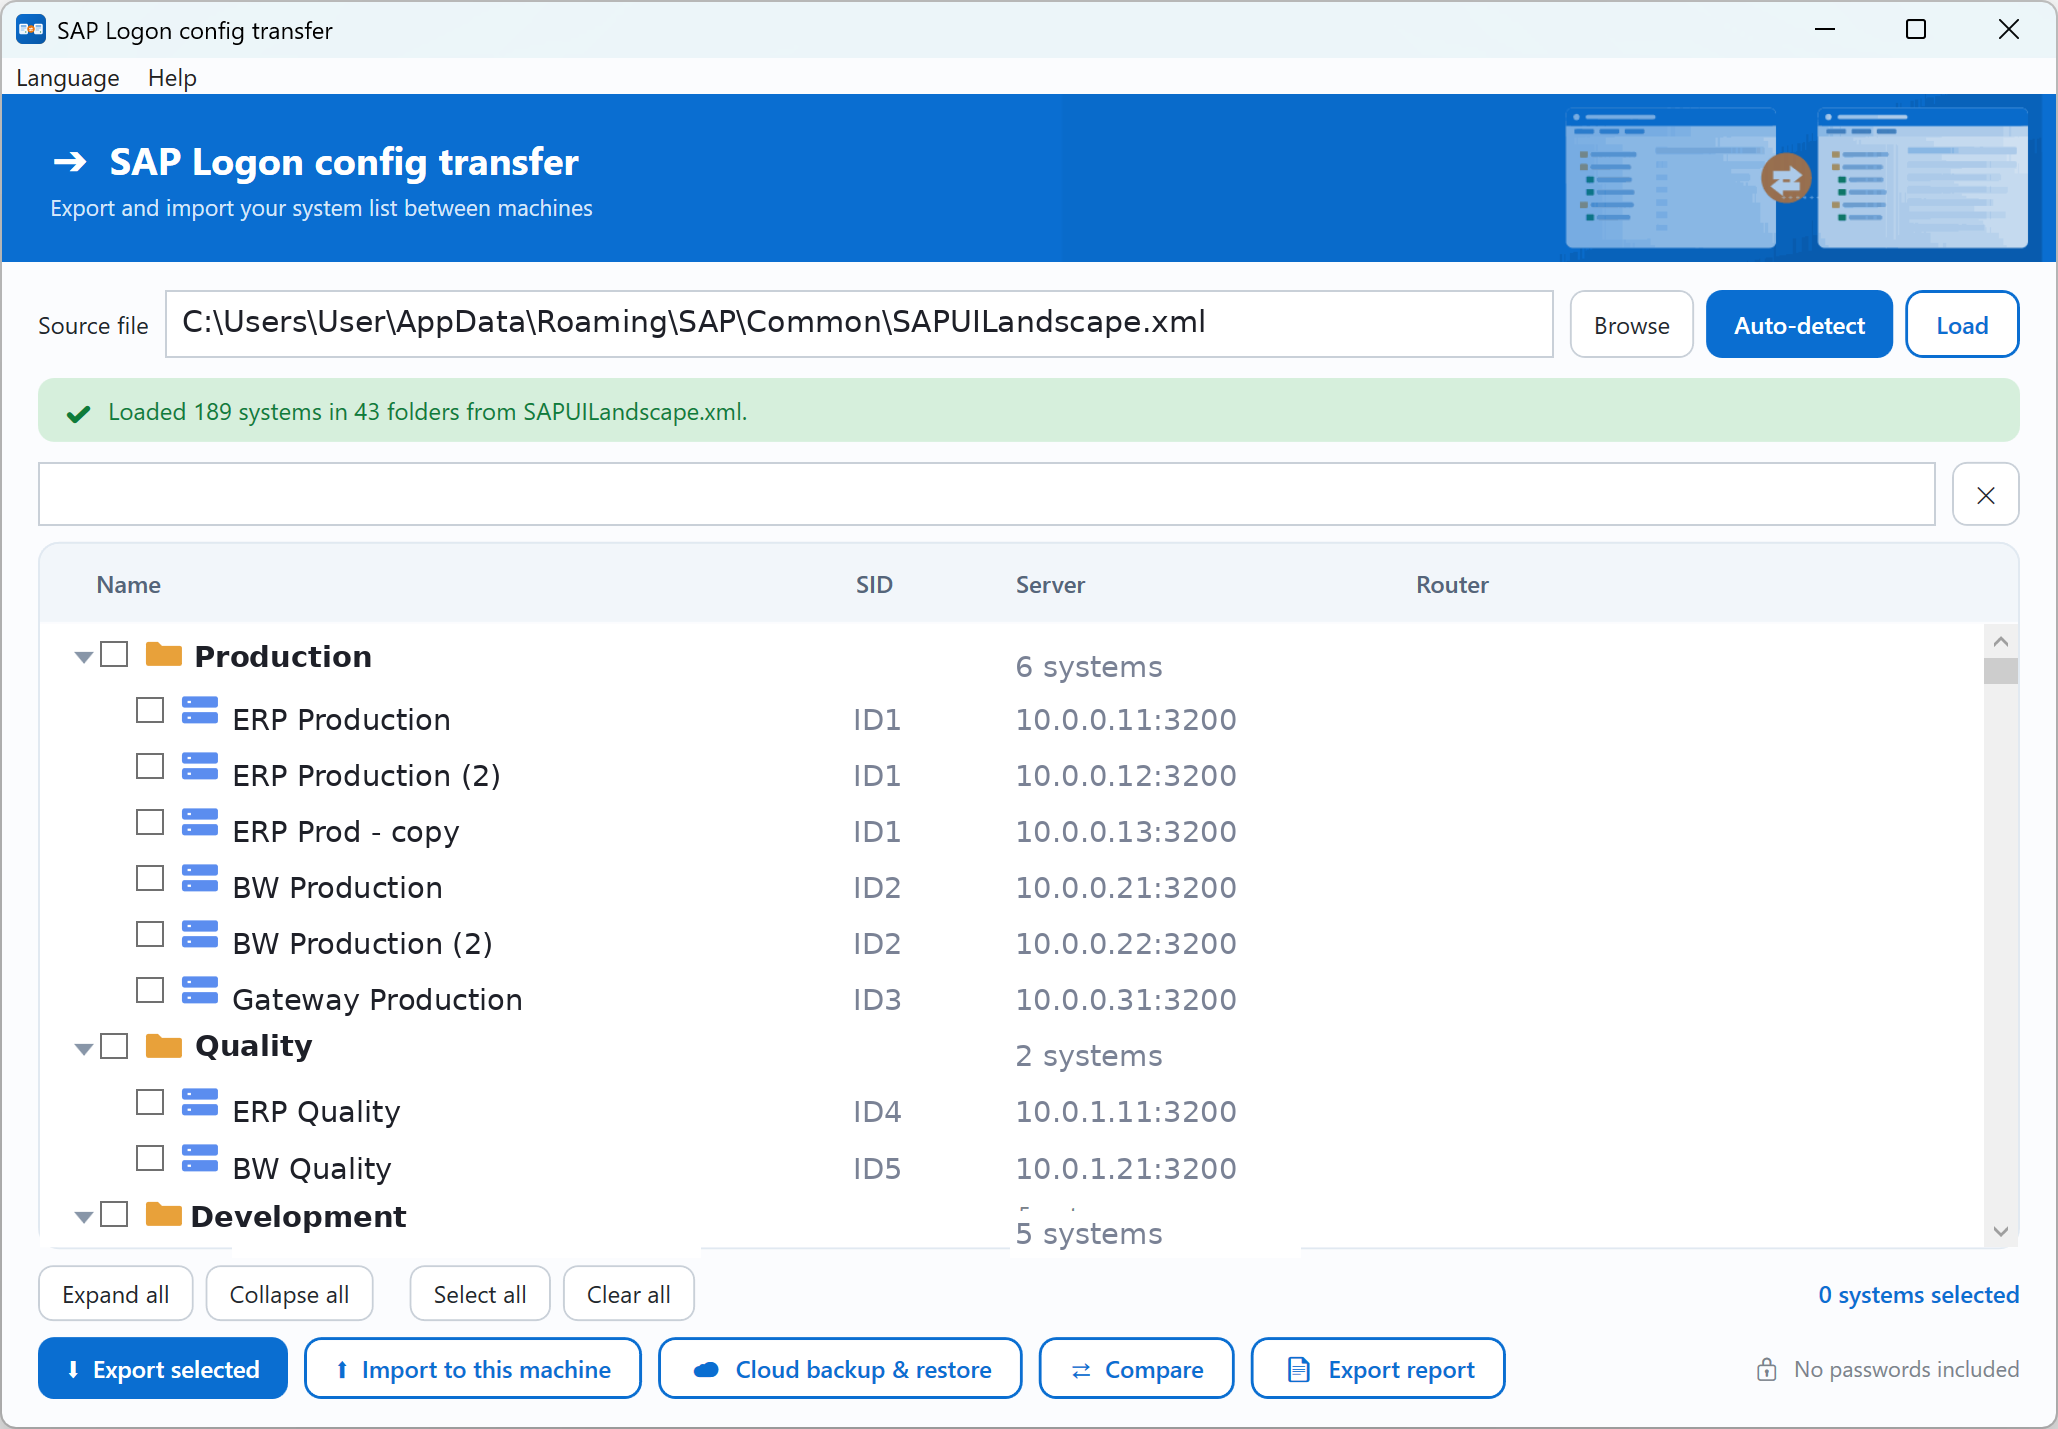
4. Load your systems
Click Auto-detect and the tool finds the SAP connections on your computer. From there you can export folders, import onto another machine, share or back up to your cloud folder, or export a report.
Safe by design. Only connection details are handled — servers, routers and system IDs. SAP Logon never stores passwords in these files, and neither does the tool. A backup is written before any import.
Where to next
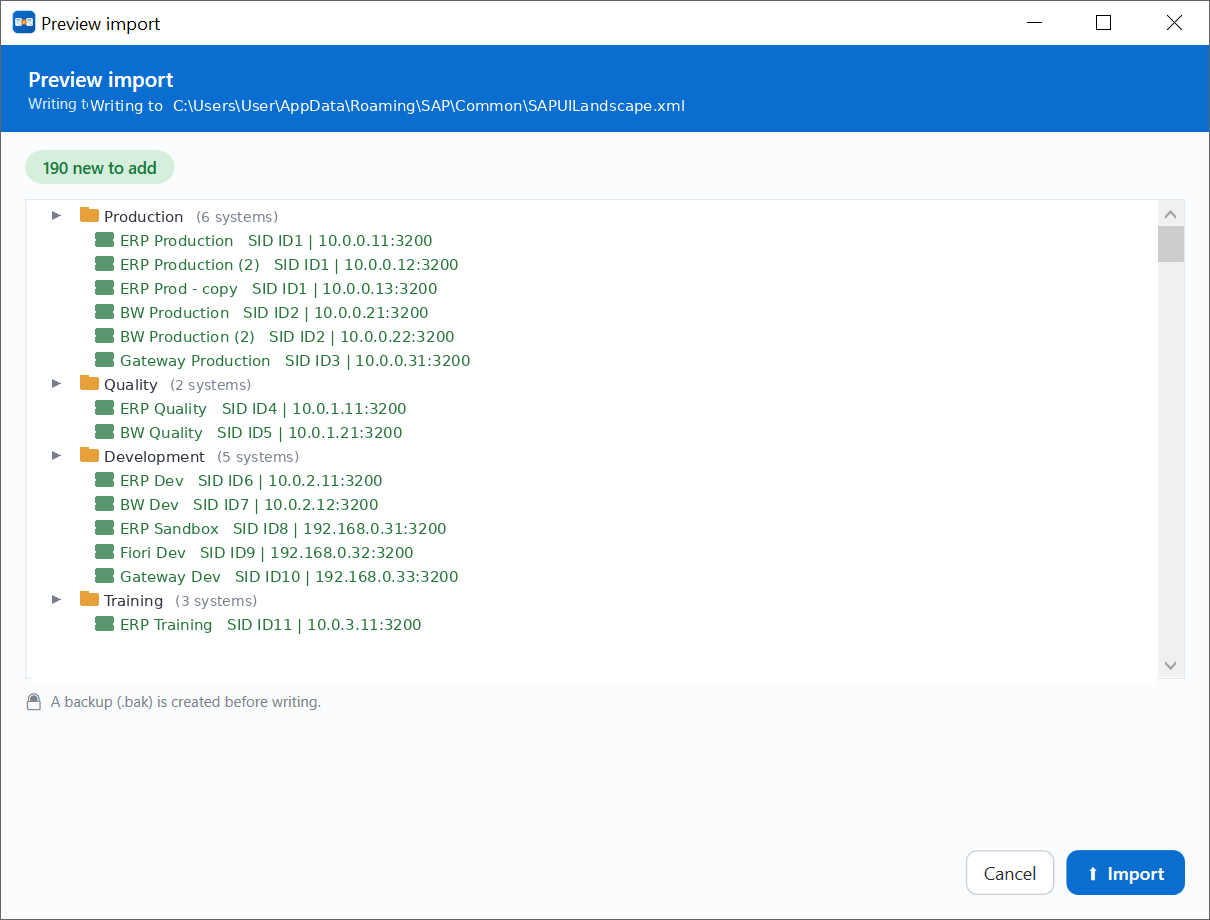
Once it's running, the two most common tasks are moving your list to a new machine and backing it up before a Windows reinstall:
Free, portable, Windows 10/11.